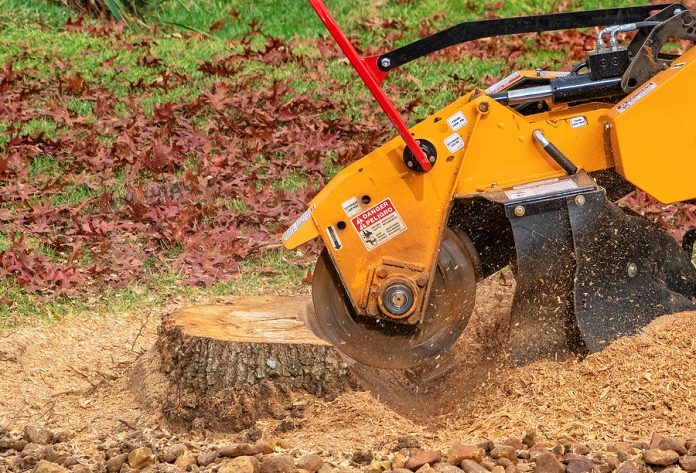
Removing a tree stump on your own can be a challenging yet rewarding task, saving you money and providing a sense of accomplishment. This detailed guide provides essential tips and techniques for DIY stump grinding to help you tackle the job safely and efficiently.
1. Assess the Stump and Surroundings
Before you begin stump grinding, assess the stump and its surroundings:
- Stump Size and Condition: Evaluate the size, depth, and condition of the stump. Larger or older stumps may require more effort and time.
- Surrounding Area: Clear the area around the stump of rocks, debris, and any obstacles that could interfere with grinding.
2. Gather the Right Equipment
To effectively grind a stump, you’ll need the following equipment:
- Stump Grinder: Rent a stump grinder from a local hardware store. Choose a grinder appropriate for the size of the stump and your level of experience.
- Safety Gear: Wear protective gear including gloves, safety glasses, ear protection, and sturdy clothing to shield against wood chips and debris.
3. Prepare the Stump and Grinder
Prepare the stump and grinder for the grinding process:
- Cut the Stump Close to Ground: Use a chainsaw to cut the stump as close to the ground as possible. This reduces the workload for the stump grinder.
- Position the Grinder: Position the grinder over the stump, ensuring it’s stable and securely positioned.
4. Start Grinding
Follow these steps to grind the stump effectively:
- Begin Grinding: Start the grinder and lower it gradually onto the stump. Use a back-and-forth motion and apply even pressure to grind the wood away.
- Depth Control: Gradually grind the stump down to several inches below ground level. This helps prevent regrowth and allows for soil covering.
5. Manage the Debris
As you grind the stump, manage the debris and wood chips:
- Collect Wood Chips: Use a shovel or rake to collect wood chips produced by grinding. These can be used as mulch or disposed of appropriately.
- Clear the Area Periodically: Periodically clear away wood chips and debris to maintain a clear workspace.
6. Finish and Clean Up
Once the stump is ground down, complete the process with these final steps:
- Inspect and Adjust: Inspect the area around the stump for any remaining roots or hazards. Adjust the grinder if necessary to ensure a smooth finish.
- Fill the Hole: Fill the hole left by the stump with soil or mulch. This helps level the ground and promotes new grass growth.
7. Safety Precautions
Ensure safety throughout the DIY stump grinding process:
- Follow Manufacturer’s Instructions: Adhere to the manufacturer’s guidelines for operating the stump grinder safely.
- Stay Alert: Remain vigilant for hazards such as rocks or buried obstacles that could damage the grinder.
Conclusion
DIY stump grinding can be a rewarding project if approached with careful planning and attention to safety. By following these tips and techniques, you can remove tree stumps from your property safely and efficiently, reclaiming your landscape and preparing the area for future use. If you encounter challenges or feel unsure about the process, consider consulting with professionals for advice or assistance. With the right preparation and equipment, you can achieve successful stump removal on your own terms.
